


If your electric tongue jack stops working, it can turn a simple hitching job into a real headache fast. The good news is, rewiring one is usually much more doable than it looks.
If you’re learning trailer ownership and basic repairs, our RV maintenance guides can help build confidence with common DIY fixes.
I had an old tongue jack that was actually a solid unit, but the wiring had been chopped off. No plug, no clean connection, and no obvious way to know if it was even worth saving.
So instead of tossing it or calling in help, I tested it, rewired it from scratch, and got it working again with basic tools.
If you’re new to trailer wiring, this is a great place to start. You do not need a bunch of fancy electrical gear to get an electric trailer jack running again.
You just need to understand the basics, make clean connections, and test as you go.
Start by finding out if the jack still works
Before cutting wire, buying connectors, or mounting anything, the first step is simple: test the jack motor itself.
If the motor is dead, there is no point rewiring it. But if the jack still runs, then you’re probably just dealing with a wiring issue, which is the easy part.
In my case, the jack had a cut wire hanging off it. That can look intimidating if you’ve never worked on trailer electrical before, but really you’re just dealing with two things:
- Hot, which is the positive power wire
- Ground, which completes the circuit through bare metal
That basic idea matters not just for a tongue jack but for a lot of RV electrical troubleshooting situations. If you want a broader understanding of how trailer and RV electrical connections fit together, this RV hookups guide is a helpful companion.
A quick way to test an electric tongue jack
The easiest test method is with jumper cables. Most people already have a set, and if you don’t, you really should.
To test the jack:
- Connect the positive side of your power source to the jack’s hot wire.
- Connect the negative side to bare metal on the jack for ground.
- Make sure the metal contact point is clean and not covered in paint.
You can pull that power from a vehicle battery or your trailer battery. The point is just to give the jack temporary 12-volt power and see whether it runs.
Ground is important here. For a good ground, you need clean, bare metal. If paint or coating is in the way, scrape it off first so the connection is solid.
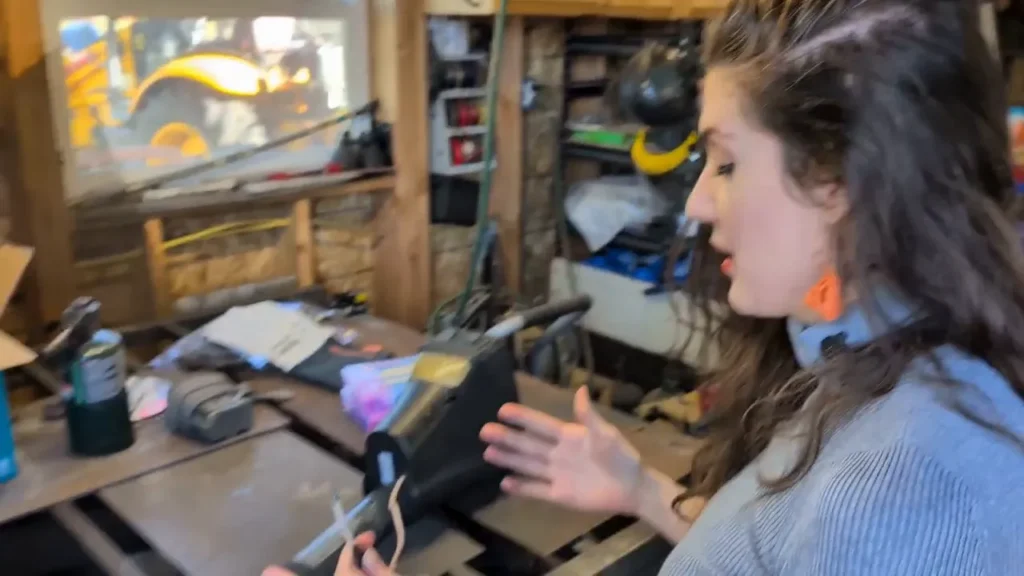
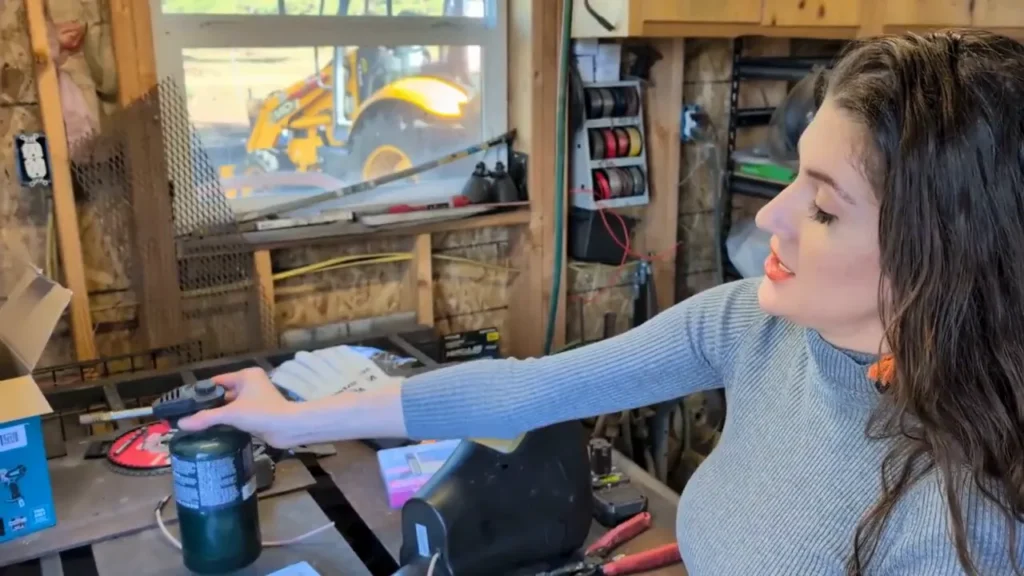
A handy battery hack if you have cordless tools
Here’s a clever trick if you have cordless power tools around your trailer or RV setup: you can use the battery pack from the tool as a quick power source for testing.
Those tool batteries have exposed positive and negative terminals, which means you can use them to check whether a 12-volt device like a tongue jack still works.
That is exactly what I used.
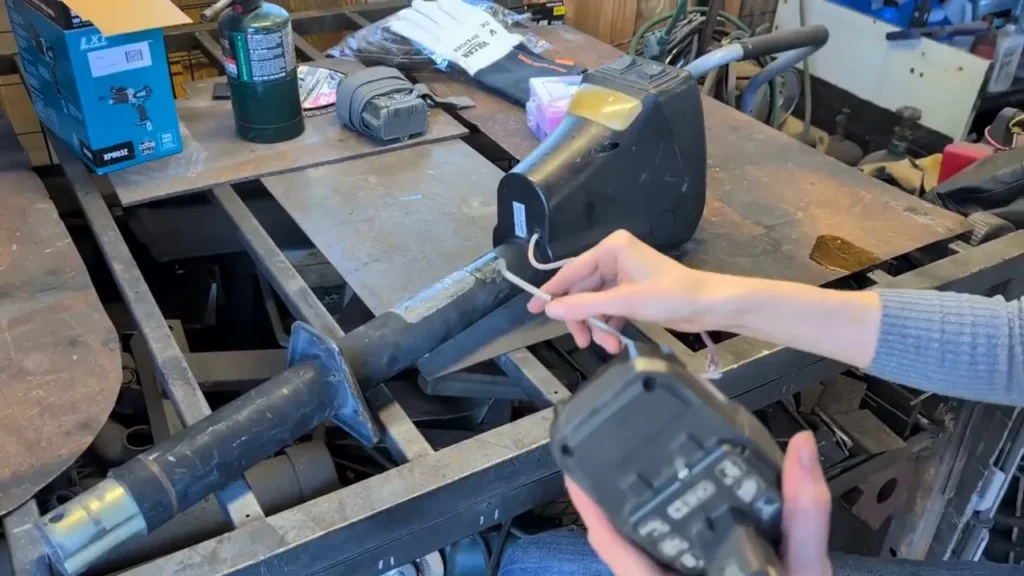
The process was simple:
- Negative terminal from the battery to bare metal on the jack
- Positive terminal to the jack’s hot wire
- Hold both firmly and test the switch
Once power was applied, the jack ran. That told me everything I needed to know. The jack itself was fine. It just needed new wiring.
If you’re keeping tools around for RV life, a small cordless set is honestly worth it. Building an essential RV tool kit can make repairs like this much easier.
A drill, battery, and even a little hand vacuum come in handy more often than you’d think.
Use the right wire size for a 12-volt tongue jack
Once the jack passed the test, the next step was extending the power wire so it could reach the trailer battery.
For an electric tongue jack running on 12 volts, I used 10-gauge wire. That’s the size mentioned for this job, and it gives you a strong enough wire for a clean, dependable connection.
A few tips here:
- Measure the distance to your battery before cutting
- Give yourself a little extra length rather than coming up short
- Use red wire for the hot lead so it’s clearly identified as positive
On older jacks, the original red insulation may be faded so badly that you can barely tell what it was. That is one reason I like cutting the old wire back farther and replacing more of it with fresh red wire.
Strip the wire cleanly
To make a good splice, strip back just enough insulation to expose the copper wire without taking off more than you need.
With 10-gauge wire, use the 10-gauge slot on your wire strippers. Clamp down, twist slightly, and work the insulation off. You want clean copper, not nicked strands.
This is one of those steps where a basic wire stripper makes life easier, but the overall repair still stays pretty simple and inexpensive.
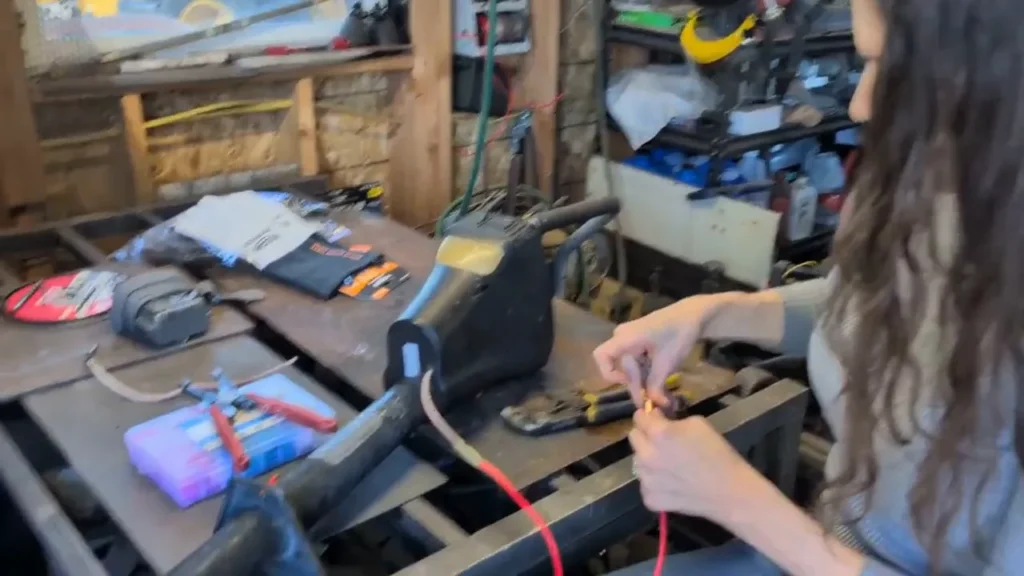
How to splice the old jack wire to the new power wire
For the best long-term result, use a wire connector, specifically the kind you can crimp and then heat-shrink to seal.
These are cheap, easy to find, and far better than a loosely taped splice when you’re dealing with outdoor trailer equipment.
To make the splice:
- Strip both wire ends.
- Twist the copper strands neatly so they stay tight.
- Insert one wire fully into one side of the connector.
- Insert the other wire fully into the opposite side.
- Crimp the connector in the center using pliers.
The important part is making sure the actual wire is seated inside the connector, not just the insulation.
If you are ever stuck on the road and don’t have proper connectors, there is a backup method: twist the wires together and tape them, ideally with electrical tape. That can get you going temporarily.
Just don’t treat that as a permanent repair. Over time, moisture and corrosion will ruin that exposed connection, and the jack will stop working again.
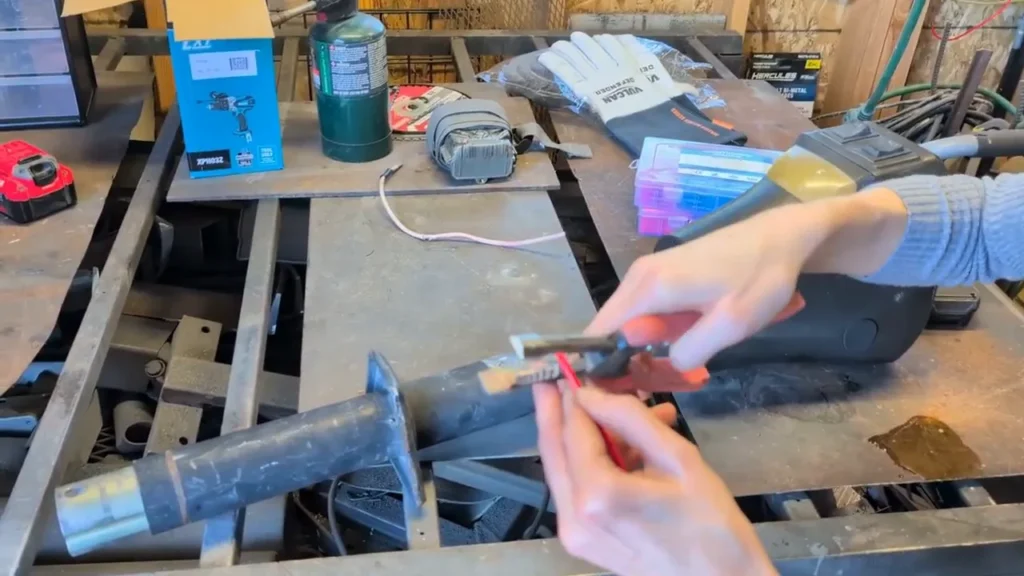
Seal the splice with heat
After crimping, heat the connector so it shrinks down and seals around the wire.
A heat gun works great, but if you don’t have one, that’s not the end of the project. A lighter can work. I even used a small torch carefully.
The trick is to use a light touch:
- Apply heat briefly
- Pull back
- Let the connector react and shrink
- Repeat as needed
Do not hold direct heat on it too long or you’ll melt the connector instead of sealing it.
Once it shrinks down tightly, you’ve got a sealed connection that is much better protected from the elements.
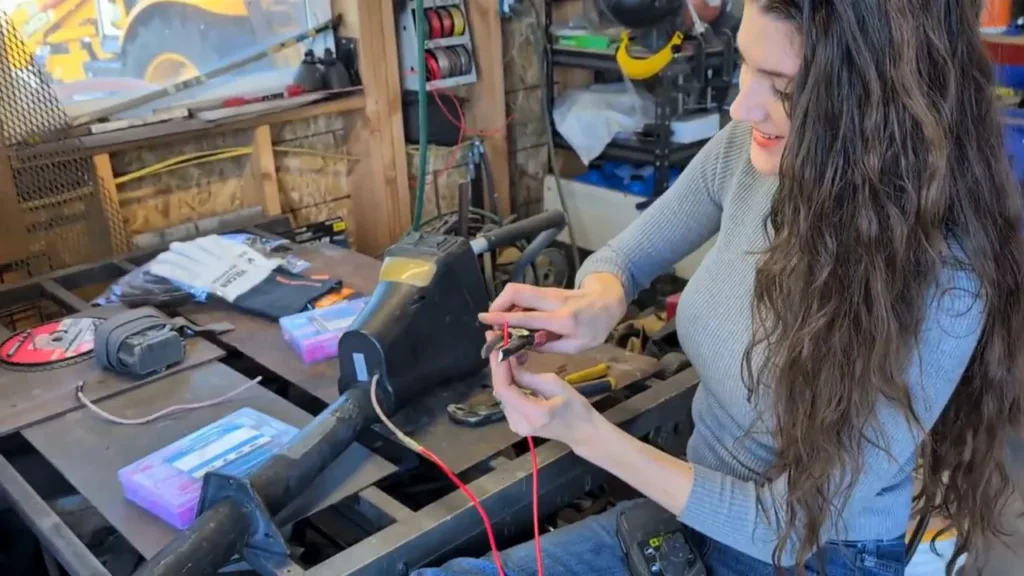
Test the repair before finishing the install
Before hooking everything permanently to the trailer battery, test the new connection.
This kind of testing is a key part of preventive RV maintenance and can help catch issues before they become larger problems.
I used the battery again:
- Positive to the new hot wire
- Negative to the jack body for ground
The jack ran with the new wire attached, which confirmed the splice was solid and ready for the final connection.
How to connect the jack wire to the trailer battery
The final battery connection needed a terminal that would fit over the battery post. For that, I used a copper lug.
These are inexpensive and easy to find at the same places you’d buy wire and connectors.
The key thing is choosing one with a hole large enough to fit over your trailer battery terminal.
To attach the lug:
- Strip the end of the wire lower than usual.
- Fold the wire over a couple of times to make it thicker.
- Insert the folded wire into the lug.
- Crimp it down firmly.
Pliers can work, but if the lug is tough to crimp tightly, a hammer can help mash it down securely. That is what I ended up using.
The goal is a tight, strong connection that is not going anywhere.
Install the jack and hook it up
With the new hot wire repaired and the battery lug attached, the last step was putting the jack on the trailer and connecting it to the battery.
At that point, the old damaged jack was no longer a dead piece of equipment. It was back in service.
This kind of trailer repair is a good reminder that a lot of RV maintenance problems look worse than they are. Once you break them down into simple steps, they become much easier to handle.
Basic tools and materials used
This repair was done without specialized shop equipment. Here is what was used:
- Electric tongue jack
- 10-gauge wire
- Wire strippers
- Pliers
- Heat-shrink wire connector
- Copper lug
- Battery for testing
- Lighter or torch for heat shrink
- Hammer, if needed, for the lug
What this repair teaches about troubleshooting trailer electrical problems
The biggest takeaway here is that troubleshooting becomes a lot less intimidating when you stick to the basics.
For a repair like this, the process is:
- Test the component first so you know whether it still works.
- Confirm hot and ground before assuming anything is wrong internally.
- Use the right wire and make clean connections.
- Seal the repair so corrosion does not undo your work.
- Test again before final installation.
That same mindset can help with other RV DIY repairs too. You do not need to know everything at once. You just need to understand the path of power and work step by step.
If you’re building confidence with trailer ownership, RV maintenance, or figuring out the practical side of life on the road, the broader Hookhub community is built around exactly that kind of problem-solving.
Final thoughts
If your electric tongue jack has a cut wire, a bad connection, or just looks like a lost cause, don’t assume it’s done for. Test it first. A lot of the time, the fix is straightforward.
This one went from unusable to fully working with a little wire, a couple connectors, and some basic hand tools.
That is the kind of repair I love most. Simple, practical, and empowering. Once you’ve done it once, the next electrical problem on your trailer won’t feel nearly as mysterious.
And if you get stuck along the way or need more support for RV life, trailer ownership, or hosting and parking resources, you can always start with the Hookhub help center.


