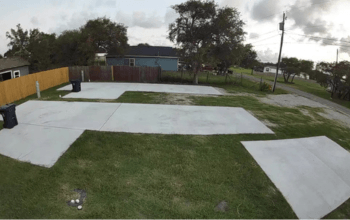
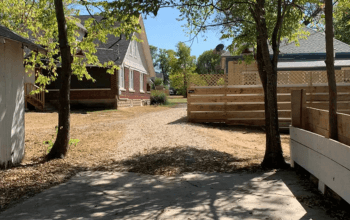
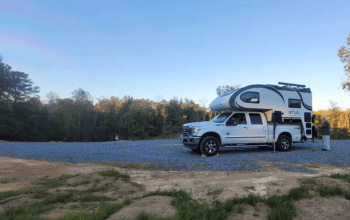
You spent time setting up your property. Maybe you cleared the land, added hookups, and made the space comfortable for someone arriving after a long drive. Then you took a few quick photos on your phone, uploaded them, and wondered why the bookings were not coming in.
That gap between a great space and a high-performing listing almost always comes down to photography.
Renters browsing a platform like Hookhub decide in seconds. They are not reading your description first. They are looking at your photos. A blurry image, a dark interior, or a cluttered bathroom can end the decision immediately.
The good news is you do not need a professional photographer or expensive equipment. You just need the right approach.
Key Takeaways
- Natural light, especially early morning or late afternoon, makes the biggest difference in photo quality before editing
- A wide-angle lens or phone setting is essential for capturing small RV spaces clearly
- Staging matters more than most hosts expect, small details can make a space feel inviting
- Taking both vertical and horizontal photos gives your listing flexibility across platforms
- Basic editing using tools like Adobe Lightroom can significantly improve brightness, color, and overall appeal
Start Outside First
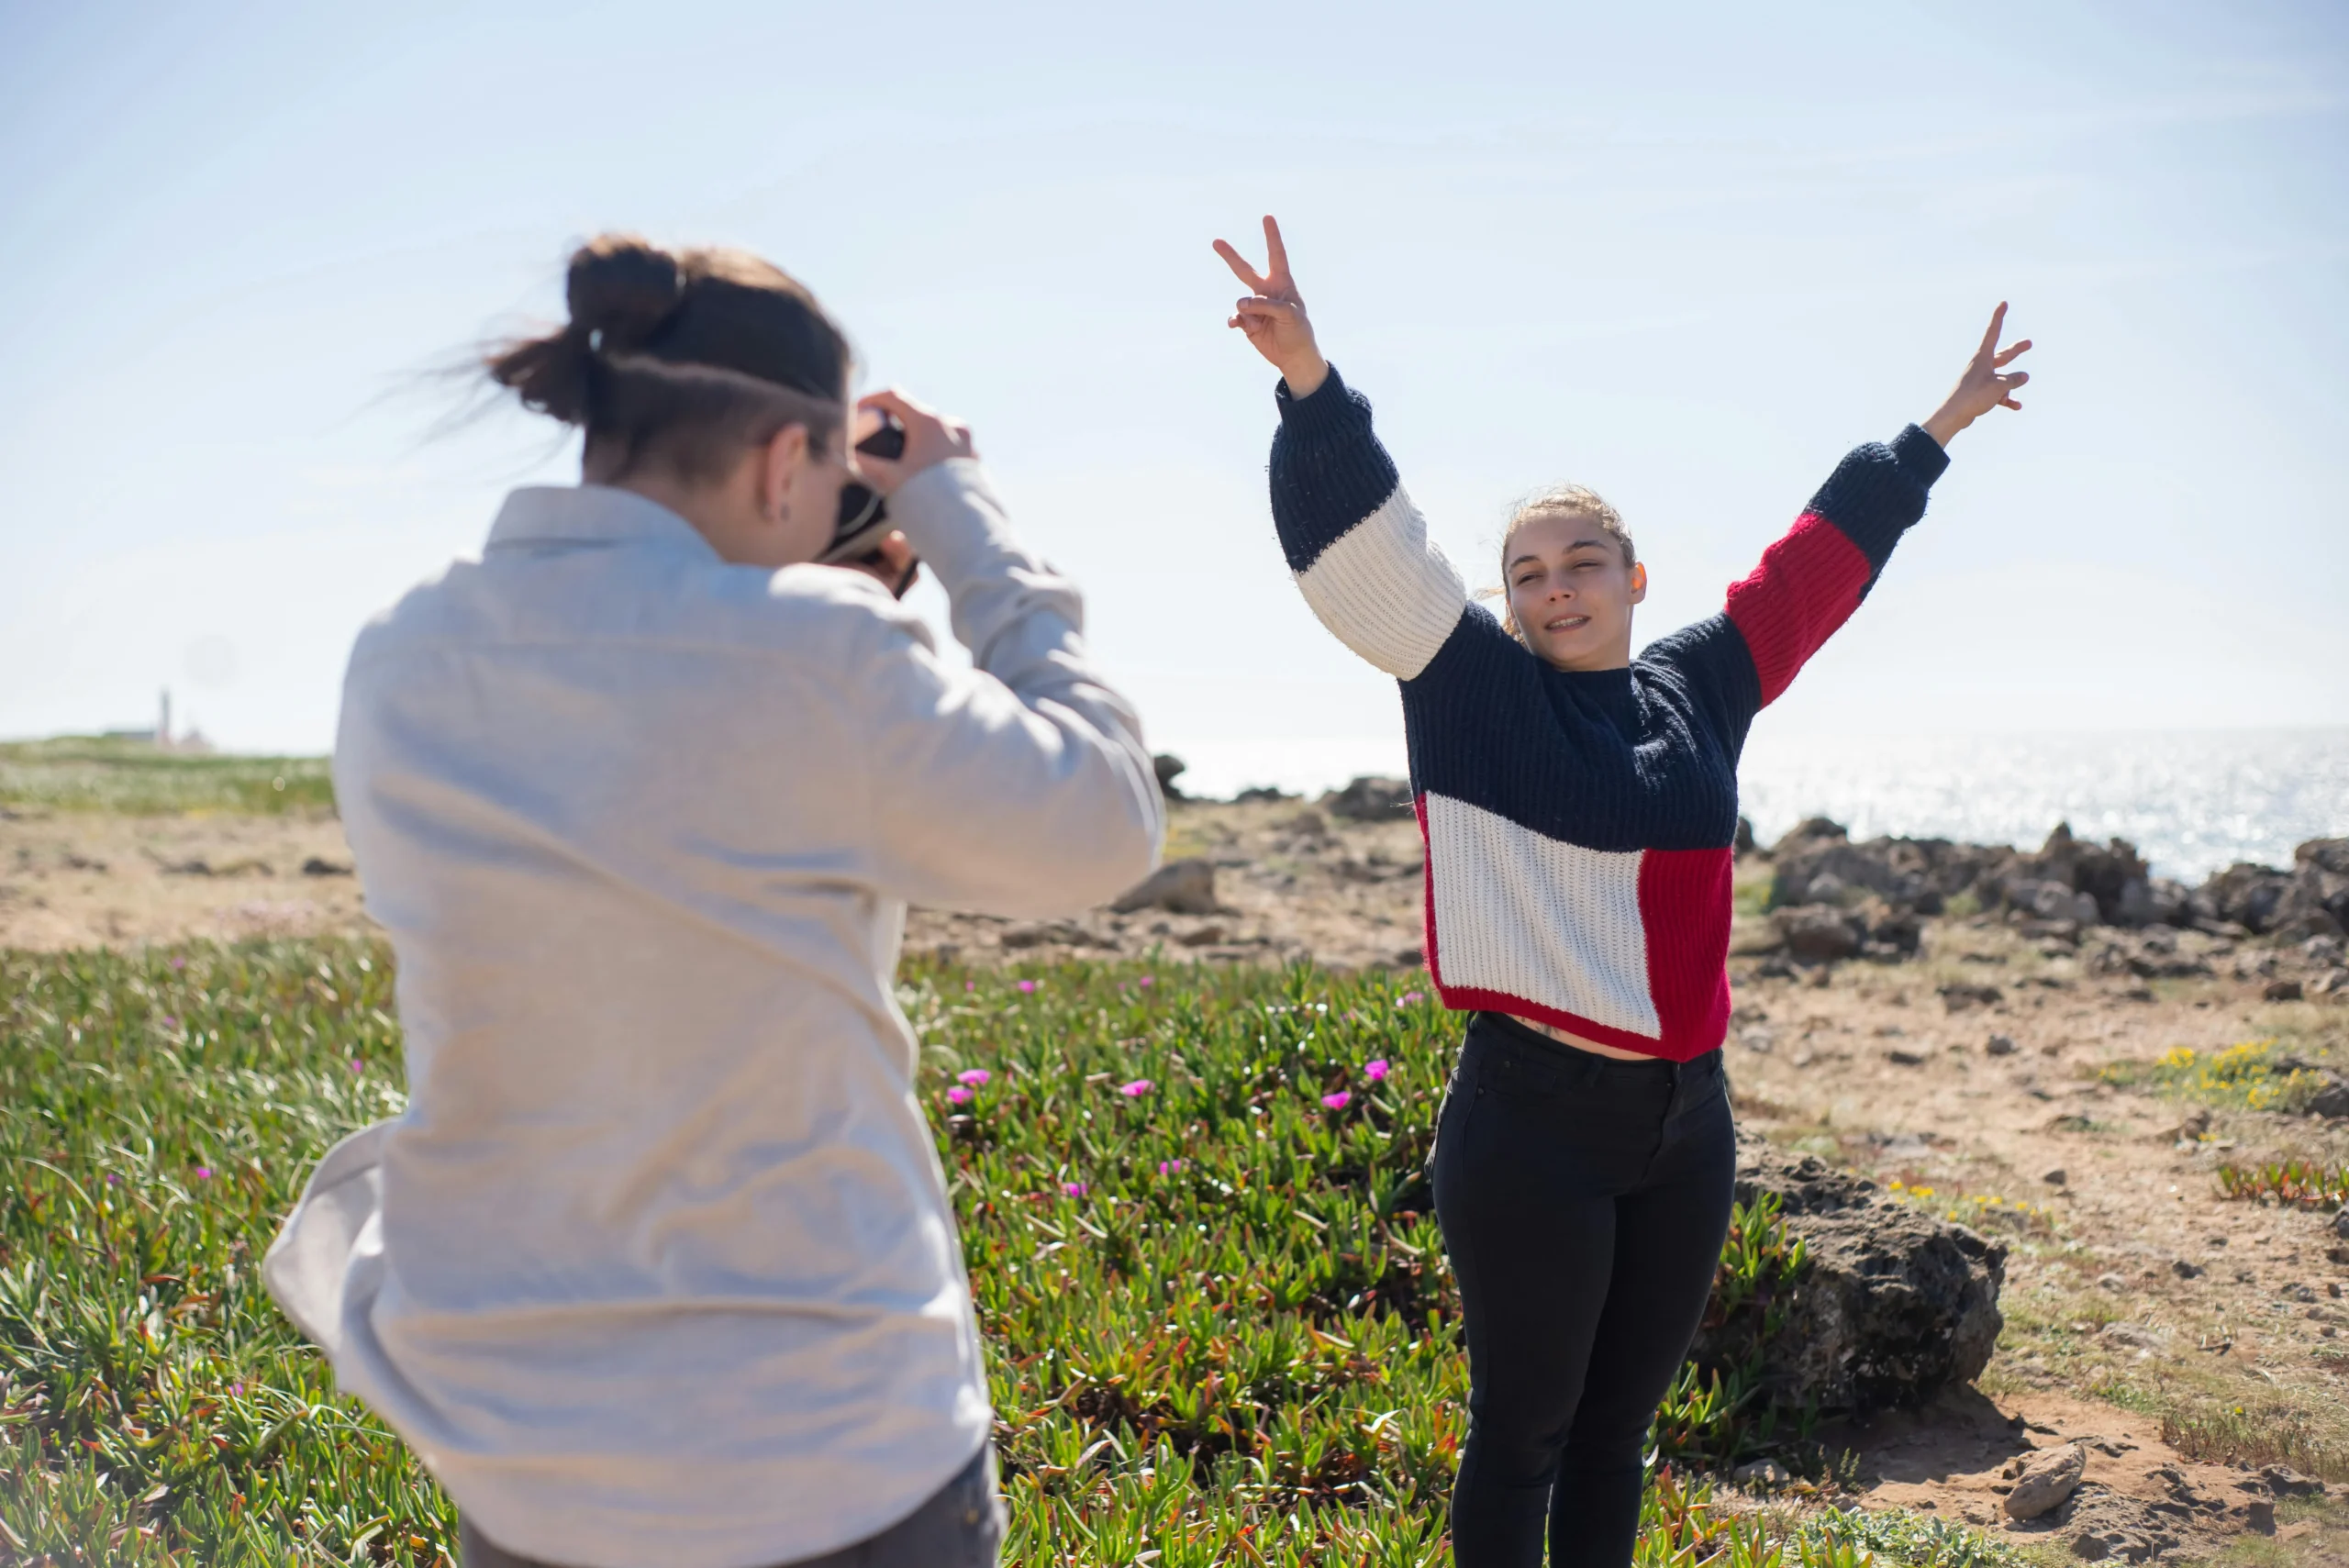
Your exterior photo is your listing’s first impression. It should make someone feel something, not just show the space.
Shoot during early morning or late afternoon when the light is softer and more flattering. Midday sunlight tends to create harsh glare and flatten the image, making the space look less appealing.
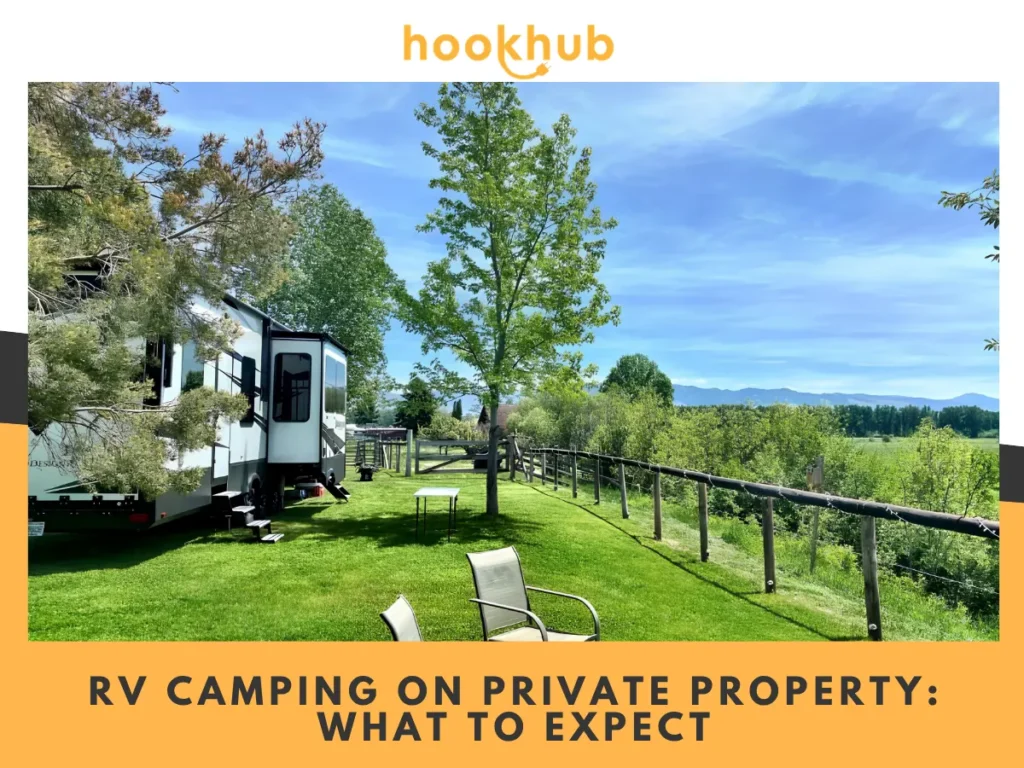
Stand at a slight angle instead of shooting straight on. This creates depth and makes the property feel larger. If you have greenery nearby, include it in the frame. It helps the space feel more like a destination.
Try shooting from a slightly lower height. This gives your RV a stronger presence and makes the land look more natural and spacious.
Strong presentation like this does more than improve visuals; it directly influences how renters perceive your listing and whether they click at all. The way your photos are presented often plays a direct role in how your overall listing performs.
Lighting Changes Everything
Lighting is the difference between a good photo and a frustrating one.
For outdoor shots, early morning and late afternoon provide soft light that adds depth. Avoid shooting directly into the sun to prevent washed-out skies or dark silhouettes.
Inside your RV, lighting becomes more challenging. Open blinds and windows to bring in natural light, then turn on interior lights to balance the space. This combination usually creates a more natural and welcoming look.
Be mindful of color consistency. Mixing warm indoor lighting with cool daylight can make photos look uneven. If possible, keep lighting tones consistent throughout the space.
Getting comfortable with how natural light behaves in different conditions can significantly improve your results, especially in small spaces with limited windows. Learning more about natural light photography tips can help you make better decisions before you even take the shot.
Stage the Space Like a Guest Is Arriving
Staging is about showing your space at its best, not changing what it is.
Start by removing clutter completely. Do not just organize it. Hide it. Personal items, cables, and anything that does not belong in a clean guest-ready space should be out of frame.
Then add small touches intentionally. A pillow, a folded blanket, or a mug on the countertop can make the space feel lived-in in a good way.
Bathrooms deserve extra attention. Keep surfaces clean, remove personal items, and add a fresh towel. A simple, clean bathroom builds trust quickly.
Outside, remove distractions like trash bins or parked vehicles. If you have features like a fire pit or seating area, arrange them naturally to show how the space is used.
Staging and preparation often overlap more than most hosts expect. The same details that make your property look ready in photos are usually the ones that make it feel ready in real life, which is why understanding preparing your land for RV hosting can help you create a space that both photographs well and performs well for long-term guests.
Use Simple Gear the Right Way
You do not need expensive equipment to get great results.
A smartphone with a wide-angle setting is enough for most situations. What matters more is how you use it.
A wide-angle lens is essential for small spaces like kitchens and bathrooms. It helps the area look more open and less cramped.
Using a tripod is one of the easiest upgrades you can make. It prevents blurry photos, especially in low-light interiors where the camera needs more time to capture the image.
Always take both horizontal and vertical photos. Horizontal works well for most listings, while vertical is better for mobile viewing. Having both gives you flexibility.
Even with simple gear, understanding how framing, angles, and composition work can make a noticeable difference in how your space is perceived. Learning more about beginner photography composition guide can help you make better decisions when positioning your shots and highlighting key areas of your RV.
Photograph the Interior Room by Room
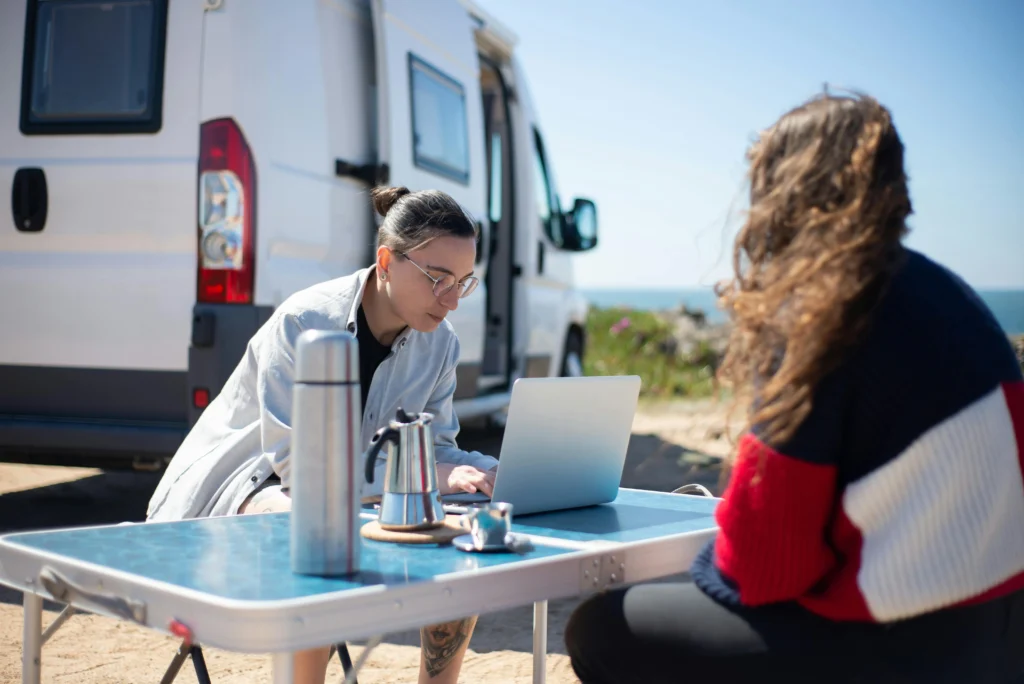
Interior photos need more attention because small spaces are less forgiving.
In the living area, shoot from a corner and aim diagonally across the space. This makes the area feel wider. Include a focal point like a window or styled surface to guide the viewer’s eye.
In the kitchen, keep countertops mostly clear. One or two items can add life without creating clutter. Shooting from a slightly lower angle helps show depth.
For the bathroom, keep it simple and clean. Shoot from the doorway to capture the full space when possible.
In the sleeping area, make the bed neatly and add a couple of pillows. Shoot from the foot of the bed toward the headboard. If there is a window, include it to show natural light.
Also include at least one photo of a unique feature. This could be a renovated interior, storage solution, or a nice view. These details help your listing stand out.
Clear, well-thought-out interior photos do more than showcase the space, they help set expectations for how guests will actually live in it during their stay. Thinking ahead about layout, functionality, and comfort is just as important as the photo itself, which is why understanding managing long-term RV guests can help you present your space in a way that aligns with real guest needs.
Edit Your Photos, But Keep Them Honest
Editing is part of the process, not an optional step.
Tools like Adobe Lightroom make it easy to improve brightness, adjust color temperature, and slightly increase saturation. These small changes can make a big difference.
Crop your images to remove distractions like cords, clutter, or anything that pulls attention away from the space.
Avoid heavy filters or unrealistic edits. If your photos look too different from reality, it can break trust when renters arrive.
Even basic adjustments can elevate your photos, but knowing what to tweak and what to leave alone is what keeps your images looking natural and trustworthy. Learning more about beginner photo editing techniques can help you refine your edits without overdoing them.
Final Touches That Make a Difference
Once your photos are ready, think about how they appear in your listing.
Your first image should be your strongest exterior shot. The next few should guide viewers inside and highlight key spaces. Detail shots can come later, once the renter is already interested.
Keep image file sizes reasonable so your listing loads quickly, especially on mobile devices.
If your property changes with the seasons, update your photos. A fresh set of images can extend your booking potential and keep your listing relevant.
This kind of consistency matters more than most hosts expect. According to Airbnb’s guidance on how to take great photos of your space, listings with high-quality photos tend to perform better in both search visibility and booking rates, reinforcing how much presentation influences first impressions.
Where Hookhub Fits Into RV Photography
Even the best photos need the right structure to perform.
Platforms like Hookhub help present your listing clearly, where strong visuals, clear descriptions, and consistent booking terms work together. High-quality photos increase clicks, but systems like guest vetting, booking flow, and communication tools help convert that interest into actual bookings.
If you are setting up your listing, using a structured system like list your land for RV hosting helps ensure your photos, pricing, and details are presented in a way that makes it easy for renters to understand and trust what they are seeing.
At the same time, working within an RV hosting platform for private landowners gives you the framework to manage bookings, communication, and expectations, so the strong first impression your photos create actually turns into confirmed stays.
Conclusion
Great photos are not about expensive gear or perfect editing. They are about showing your space clearly, honestly, and in its best light.
If a renter never clicks your listing, nothing else matters. Photography is what earns that first click.
Start with one area, improve it using the approach above, and compare it to your current photos. The difference will be obvious.
Better photos lead to better first impressions, and better first impressions lead to more bookings.
FAQs
What time of day is best for taking RV property photos?
Early morning or late afternoon provides the most flattering natural light. Inside the RV, mid-morning works well because daylight is strong but not harsh.
Do I need a professional camera?
No. A modern smartphone with a wide-angle setting is enough. Good lighting, composition, and stability matter more than the device.
How many photos should I include?
Most strong listings have around 10 to 20 photos. Focus on quality and variety rather than quantity.